Spring boot is one of the most popular frameworks in the world of Java. In this tutorial you will learn how to run a Spring boot application on Raspberry Pi, this is not a tutorial on Spring or Spring boot it self. For more information about Spring or Spring boot, see the official documentation. ( https://spring.io/ )
We will create a simple web server which will handle a request and just print out the result. For this tutorial you will need:
- Raspberry Pi, i am using 3b+
- Sd card setup with Raspbian
- Java installed on your Raspberry Pi. If you have not installed it yet, check out this tutorial. https://learnraspberrypi.com/2019/07/28/java-11-on-raspbery-pi/
- IntelliJ
If you have not downloaded and installed IntelliJ, do that. It is available here https://www.jetbrains.com/idea/
After IntelliJ has been installed, Open the program.
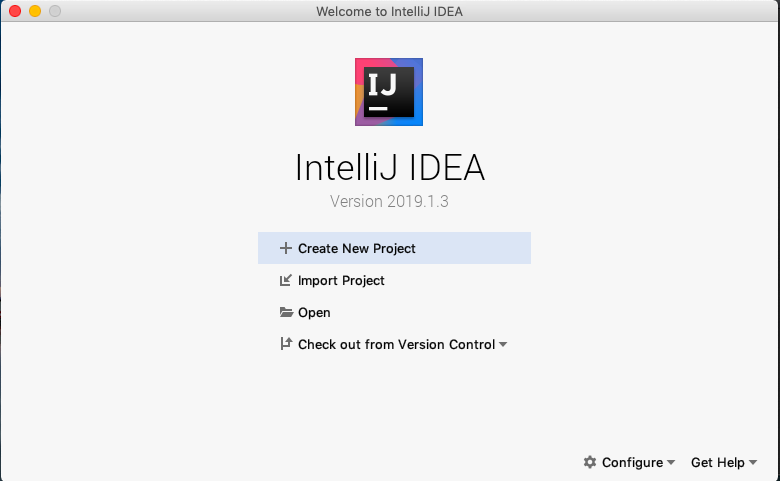
Click ”Create New Project”
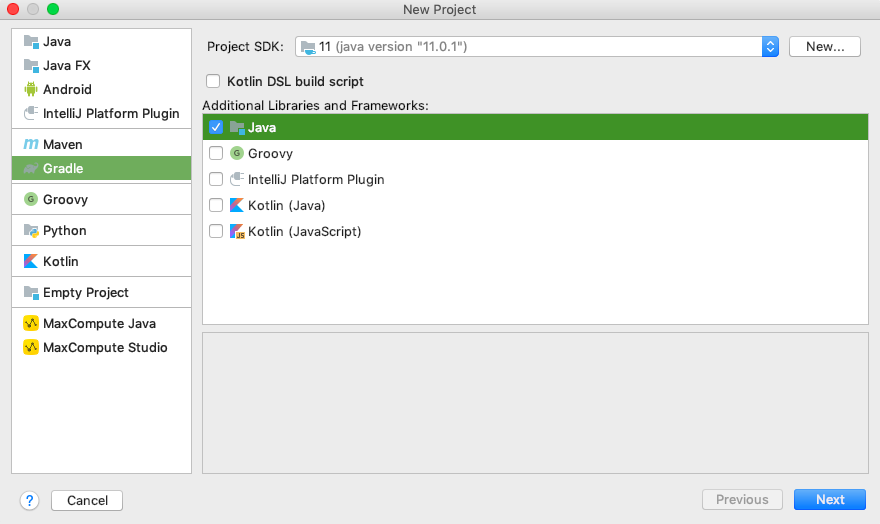
For this tutorial I am going to use Gradle and Java 11. Click Next.
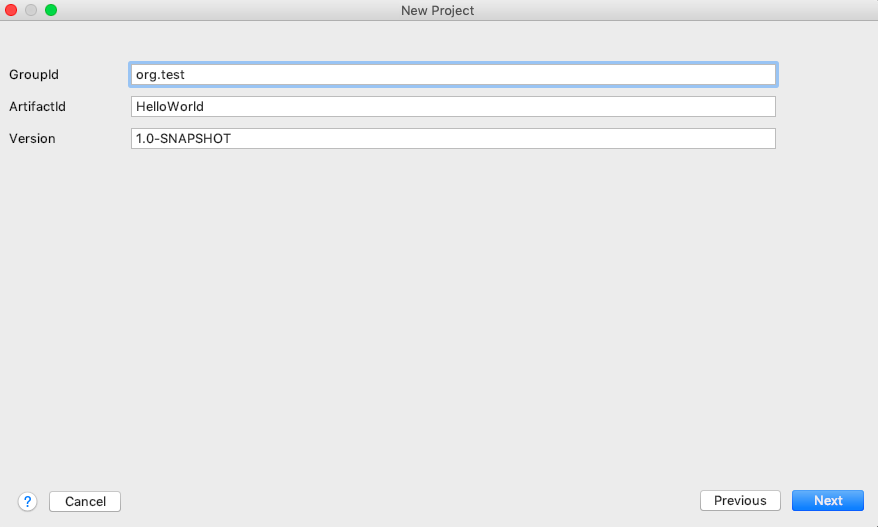
Name your new project something useful for GroupId and ArtifactId. In this example I am using the very awful names of ”org.test” and HelloWorld.
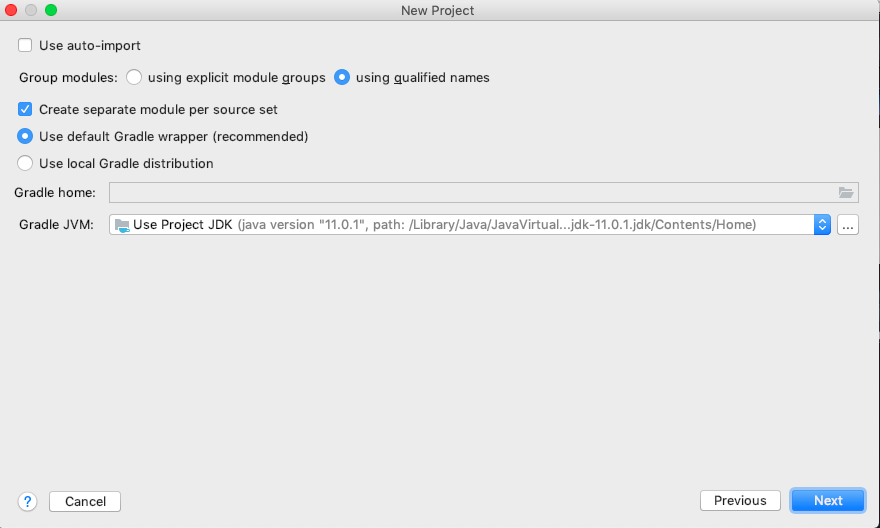
Nothing is necessary to change here, click Next.
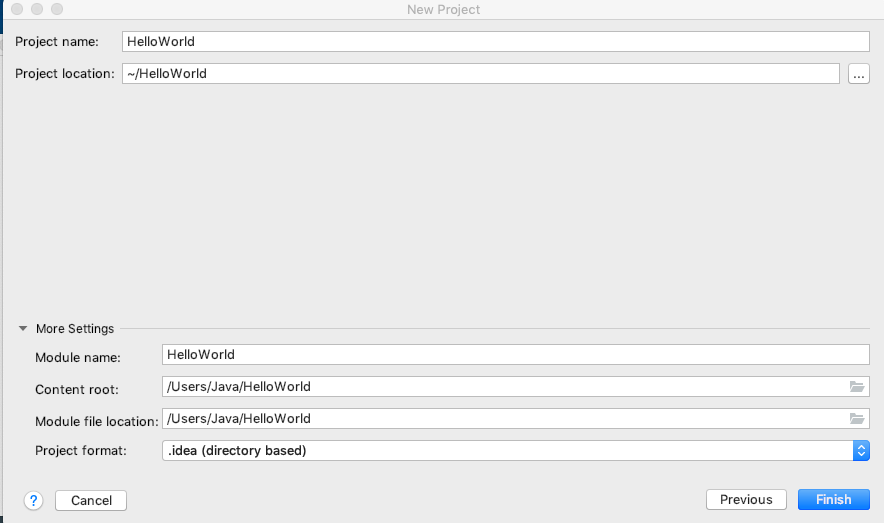
And nothing is necessary to change here either, unless you want to change where the actual source code is located on your hard drive. Click Finish.
You should now have an empty java project which looks something like this in the left corner.
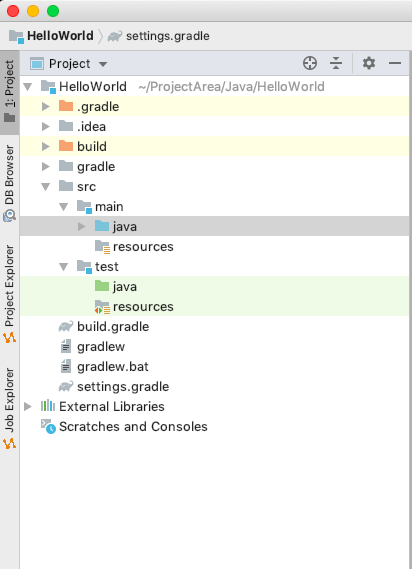
Open up the build.gradle file and replace it with the following:
buildscript {
    repositories {
        mavenCentral()
    }
    dependencies {
        classpath("org.springframework.boot:spring-boot-gradle-plugin:2.1.6.RELEASE")
    }
}

apply plugin: 'java'
apply plugin: 'eclipse'
apply plugin: 'idea'
apply plugin: 'org.springframework.boot'
apply plugin: 'io.spring.dependency-management'

bootJar {
    baseName = 'hello-world-springboot'
    version =  '0.1.0'
}

repositories {
    mavenCentral()
}

sourceCompatibility = 11
targetCompatibility = 11

dependencies {
    compile("org.springframework.boot:spring-boot-starter-web")
}
Gradle is a build tool which will help you building your application as well as handle external dependencies such as spring boot.
With gradle you can declare dependencies and it will automatically include the library in the build process. With the following lines we declare that we want a dependency to spring-boot and its starter pack ”web”.
dependencies {
    compile("org.springframework.boot:spring-boot-starter-web")
}
Now that we have the dependency declared we can start coding the application. Create a new java class called HelloWorldApplication.java and type the following:
package org.test;

import org.springframework.boot.SpringApplication;
import org.springframework.boot.autoconfigure.SpringBootApplication;

@SpringBootApplication
public class HelloWorldApplication {
    public static void main(String[] args) {
        SpringApplication.run(HelloWorldApplication.class, args);
    }
}
Also create a new Java class called HelloWorldController.java
package org.test;

import org.springframework.http.ResponseEntity;
import org.springframework.web.bind.annotation.GetMapping;
import org.springframework.web.bind.annotation.PathVariable;
import org.springframework.web.bind.annotation.RestController;

@RestController
public class HelloWorldController {

    @GetMapping("/hello/{name}")
    public ResponseEntity<String> helloWorld(@PathVariable("name") String name) {
        return ResponseEntity.ok().body("Hello " + name);
    }
}
This it the application as well as the controller which takes care of the requests from clients.
You can now build the application using Gradle with the following command.
# ./gradlew clean build bootJarYou can now run the application with the command.
# java -jar build/libs/hello-world-springboot-0.1.0.jarOkay so now it runs on your local computer, how to I get it to run on Raspberry Pi. The only thing you need to do is to copy over the jar file to the Raspberry Pi and use the same command to start it.
To copy it over to the Raspberry Pi we will use a handy little tool called scp. Type the following in your terminal:
# scp build/libs/hello-world-springboot-0.1.0.jar pi@raspberrypi.local:/home/piThe first argument is the file you want to copy, the second is where you would like to copy the file. The format for the second argument is ”user”@”ipaddress”:”path on device”.
e.g. pi@192.168.0.33:/tmp/
When it has been copied to the Raspberry Pi all you need to do is to start it up.
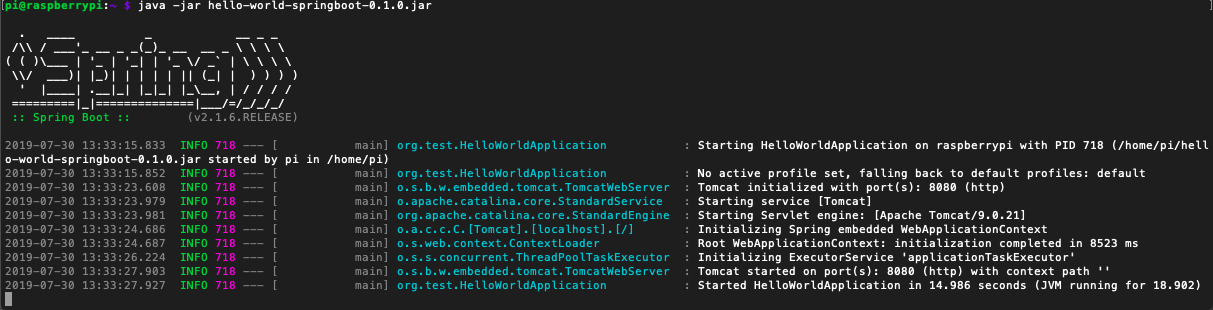
We can now also test the application by using the web browser or a tool like Postman. Visit the website ”{ip address of raspberry}:8080/hello/Stranger”. It will look something like this:
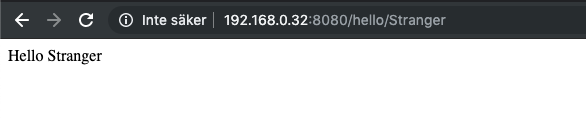
You have now explored the very basics of a Spring boot application, the framework is capable of doing so much more! Continue the journey with Spring boot and tell us about it in the comments!
